


I have created many of these frame sets in both letters and numbers that you can use for so many different things! Here is how you use them in MyMemories Suite:
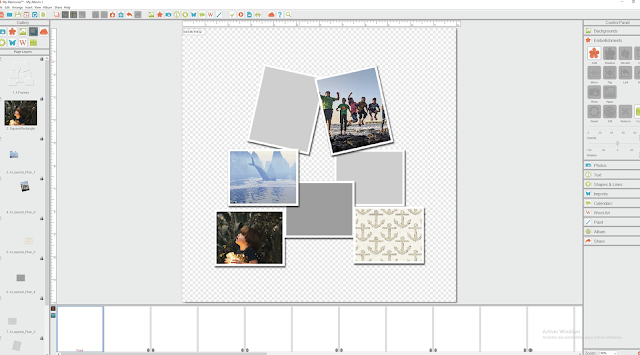
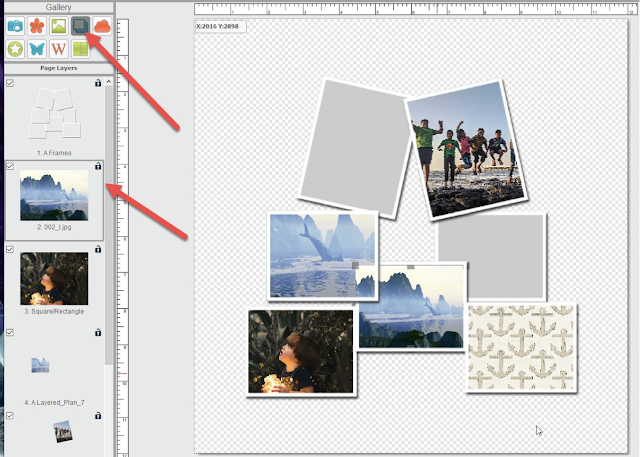
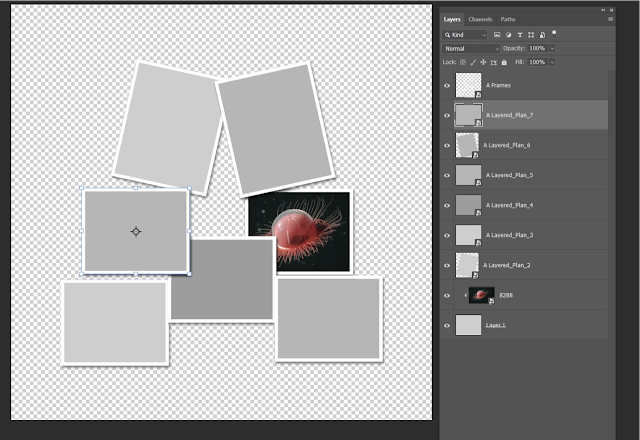
The Alpha Multiframes kit comes into several frames, already arranged into a 12 ''x 12'' page layout :

When you stack them in order, they will set as I choose to organize them. Then, you place the
The Alpha Multiframes kit comes into several frames, already arranged into a 12 ''x 12'' page layout :
When you stack them in order, they will set as I choose to organize them. Then, you place the
« Frames » layer at the very top of all.
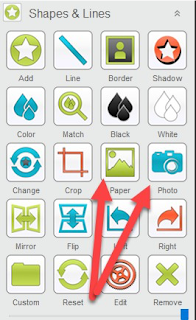
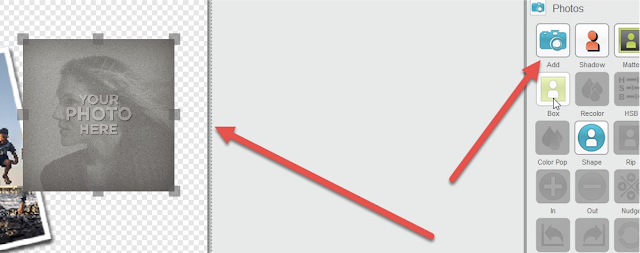
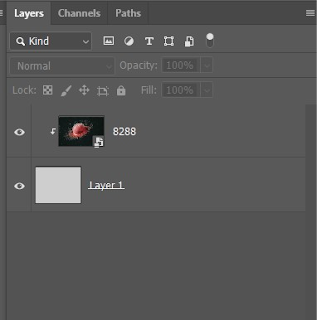
In MMS, you can fill each PNG with a photo or a paper :
In MMS, you can fill each PNG with a photo or a paper :
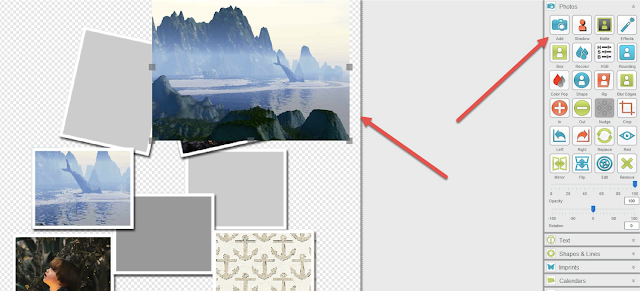
It is a little bit tricky to resize them and place them right in each PNG, but after some try/retry, you can manage to center, reduce and set your photo as you want. There is a bug in My Memories Suite on Windows computers using this feature we hope to address very soon. If you are wanting to make sure that you have it placed correctly simply preview your project using the high quality print option and it will show you exactly where your objects are.
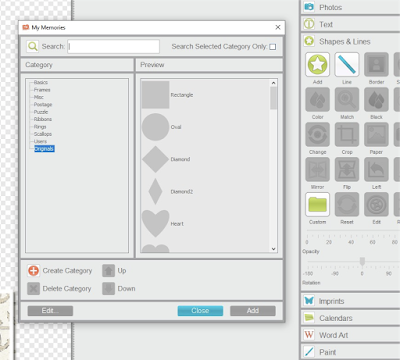
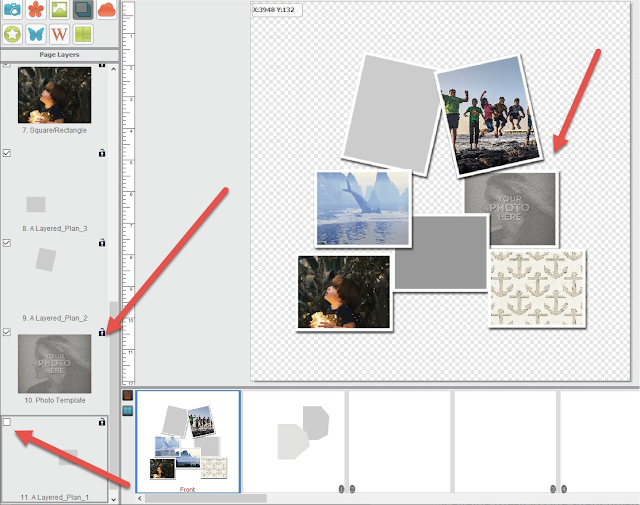
For the conventional photo shape (square or rectangle), you can also use the layers as templates to set « Shapes » or « Photo boxes » in MM, wich both are easier to fill with photo or paper than PNG:
Or, you can use them as template to place/resize/rotate a photo (without photo box):
And also with a « Photo Box » :
Don't forget to order each of them in the right order, to obtain the better with the « Frames » Layer at the very bottom (you can hide the templates by un-clicking the view check box) :
Et voilà !
I will make Album templates with photo boxes for those who have hard time with filling PNG or placing SHAPES.
---------------
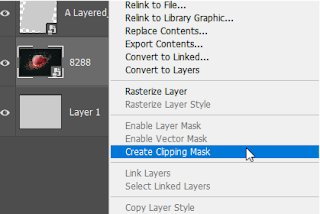
In Photoshop :
Stack them in order, with the « Frame » layer at the very bottom, and use the photo or paper as a « Cliping Mask ».
For both solutions:
And then, finish your page as a conventional layout by adding papers and embellishments.

1 comment:
Great help instructions.
Thank-You. :)
Post a Comment