

Hey MyMemories Friends!
This is Mags from MagsGraphics - here to share some scrappy fun with you!Using assorted papers strips and shapes will add interest and depth to your layouts. In an earlier blog post from Albums 2 Remember, you learned how to add paper to shapes within MyMemories Suite. She gave steps on adding papers from kits that were installed INTO the MMS program. However, I don't install any of the kits I purchase from MyMemories into the software; I prefer to use the "General" download button, and save all of my kits by theme on my External Hard Drive. Then I can easily use the graphics in other programs as well. So I'm going to show you how to add papers from kits that are NOT installed in the software (but you are still using the MyMemories Suite program), and I have some amazing layouts to share with you that effectively use paper shapes and strips.
Adding Paper From "Outside Content" to a Shape in MMS...
1. Open MyMemories Suite. Start a new project or canvas. For this sample layout, I'm using items from my BOOK NERD Collection.
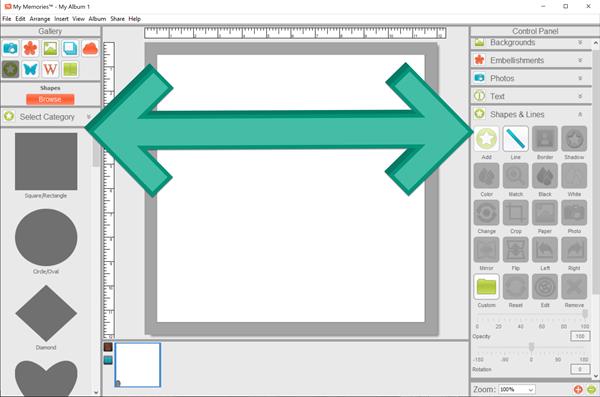
2. Add your first shape. Be sure to size it the way you want it. If you size it AFTER you add a paper, it will skew the paper details. You can add a shape from either the Left Side Menu (drag-n-drop) or the Right Side Menu (click & choose).
3.Instead of clicking "Paper" on the Right Side Menu, click "PHOTO". Photos and Papers are both in JPG format so you will be able to "trick" the software into adding a paper from outside of the software.
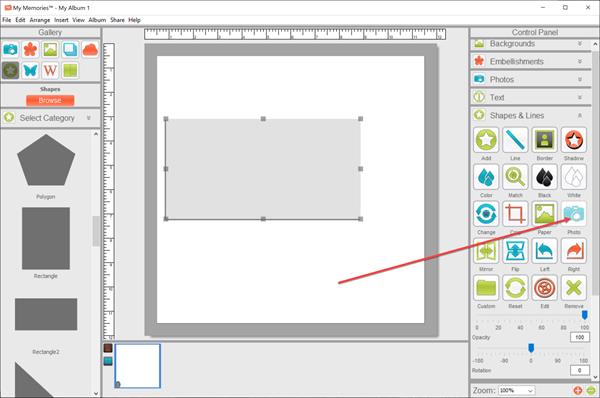
4. Navigate to the folder where you keep the kit papers that you want to work with. Double-click and it will add your paper. If you need to make adjustmets to how the paper shows up in the shape, just double-click on that shape and move it around.
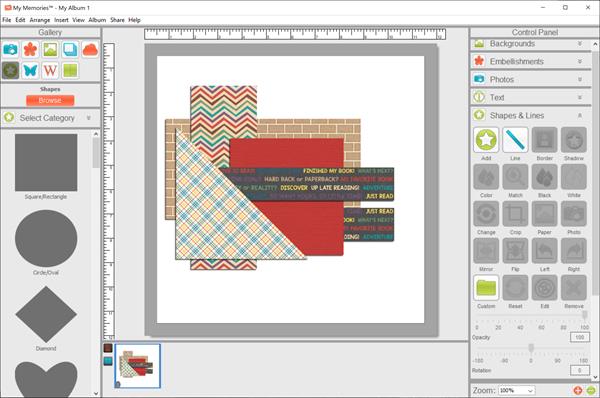
5. Here are many shapes stacked; can you see how this is "shaping" up to be a cool layout? 😉
6. Now you can add your background paper, and a box (or boxes) for photos:
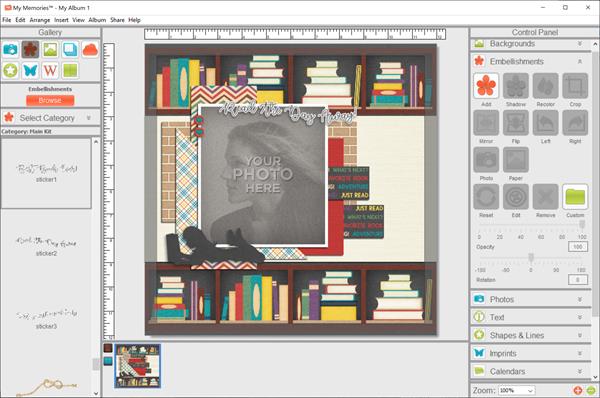
7. Now you can start stacking your different paper shapes under your photos to make some colorful and dynamic layouts. Take a look at these examples. (Images are linked to the collections used.)
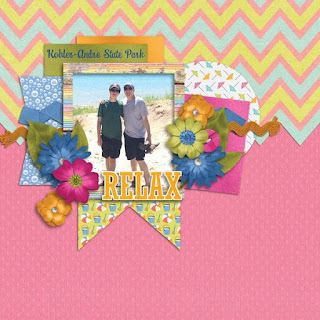
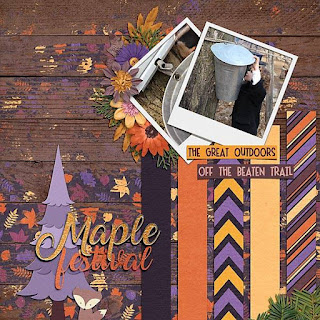
Layout by Kim B. Layout by Kathy B.

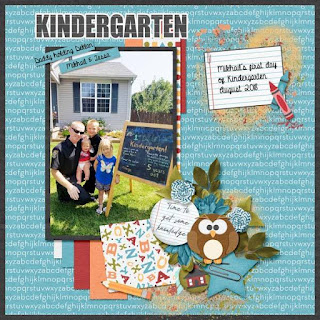
Layout by Joyce Layout by Jenny


Layout by Beth Layout by Carina
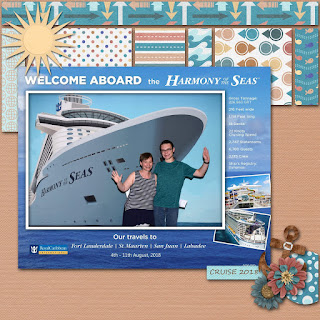

Layout by Laurel Layout by Michelle W.
I have a special treat for you! I've provided the layout I just showed you how to make as a 12"x12" QUICK PAGE! It will be available for download below through August 31, 2019! This Quick Page uses my newest collection: BOOK NERD, a MyMemories Exclusive for August. I hope you'll snag up the rest of the collection!

Now it's YOUR turn! Try layering paper shapes in your layouts! I'd love to see your layouts - Show them off in any of these Facebook Groups:

No comments:
Post a Comment