

If you don’t have a lot of time to scrap or you are beginning scrapper,
then Quick Pages are something you might want to check out. MyMemories
has a full line of quick pages from many different designers and a wide
range of themes. We have something for everyone! (And if we don’t just
ask and someone will make it.) There are tons in my MyMemories store at a
very low cost. Everyday price is just 99¢ or a bundle of four for
$2.99.
For today's tip I have set you up with a FREE one. You can download it here.
You can also grab a few more from my store here.
Using a quick page in the MyMemories Suite Software is fairly easy.
Using a quick page in the MyMemories Suite Software is fairly easy.
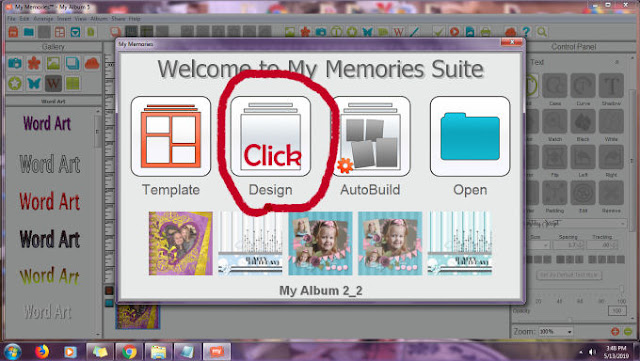
When you open MyMemories Suite click on the ‘Design’ icon.
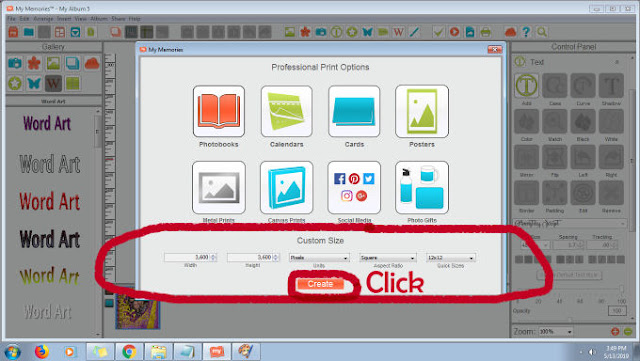
This brings you to the following page. Go to ‘custom size’ at the
bottom and make sure your settings are on 3600 width, 3600 height,
pixels, square, and 12x12. Then click ‘create’ at the bottom.
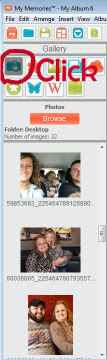
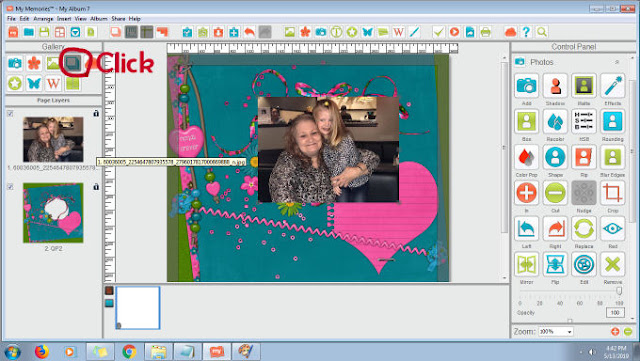
Quick Pages are considered ‘embellishments’ in the MyMemories software.


To load your quick page click the embellishment icon on the top left. If you have purchased your quick page from the MyMemories store it should load in the display window. If you are using another quick page in the software, click the ‘browse’ button and go to where the quick page is stored. Click on it and it should then load into the MyMemories software.
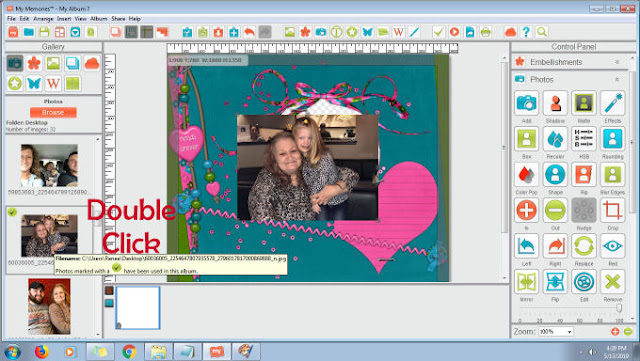
After locating your quick page, find it in the display on the left. Double click on it and it will load into your work area.

on the photo icon to open your pictures in MyMemories Suite. Click on
‘browse’ to go to the location where your pictures are stored. Double
click on the picture that you want to use. It will load into your work area.
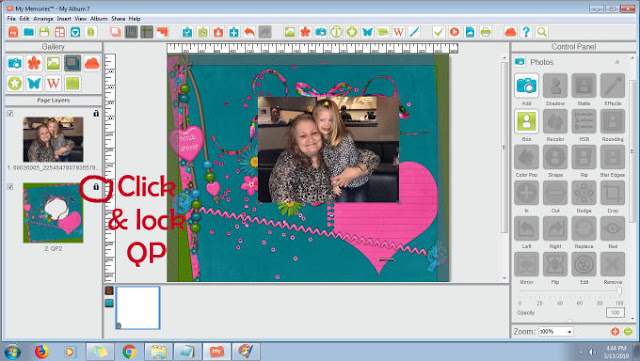
Next, click on the ‘Page Layers’ icon. You can then view your different layers in the display on the left.
Click the lock on the Quick Page layer so that you can work with your picture.
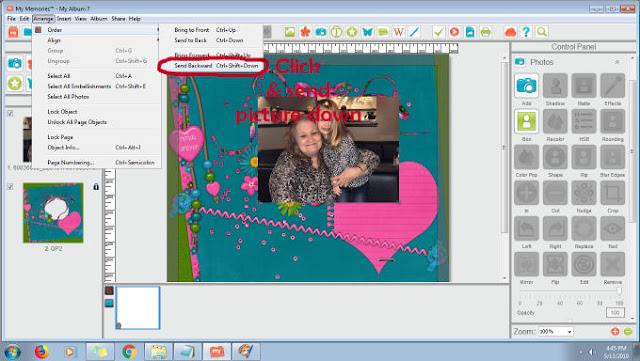
Click on your picture layer. Then click ARRANGE >ORDER>SEND BACKWARD
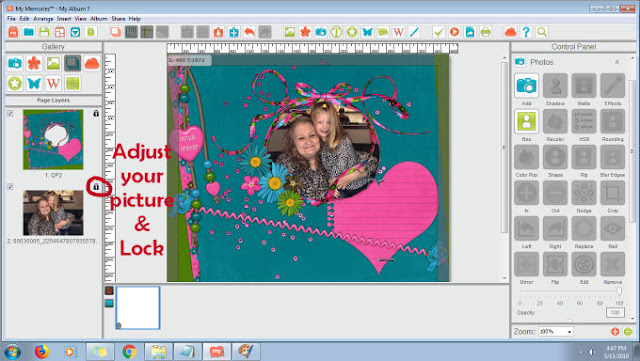
Arrange your picture behind the frame area to your liking. Lock your picture layer.
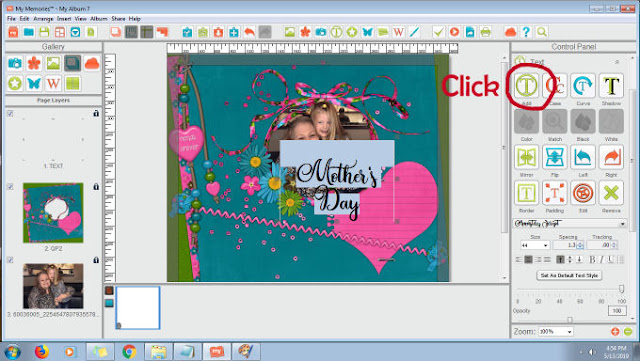
Add some text/journaling to your Quick Page.
Click the ‘Text’ icon on the right. Select the font, size, etc…of your liking.
Type your text into the text box.
Re-color your text to your liking by clicking the ‘color’ icon on the right.
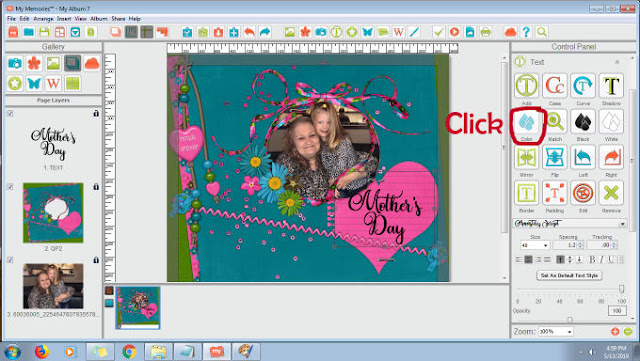
Click the ‘picker’ tab at the top.
Select a matching color by running your cursor over the qp on the left.
Click ‘ok’.

When finished save your project!
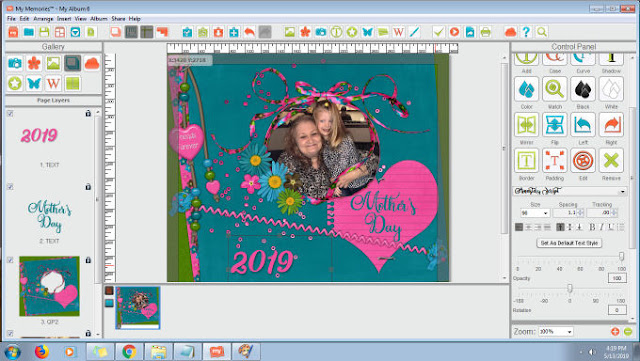
Here is my finished project. I hope you enjoyed this tip of the easiness of using Quick Pages.

Remember to stop by my store and check out all the new items that have been added recently.
No comments:
Post a Comment