

Hello everyone, Marie from Marie H Designs here once again with another Designer Tip for you.
As a MyMemories software user you probably know a lot about Template or it is probably new to
you. A Template in MyMemories Suite is a pre-made layout similar to a quickpage BUT it is not
merge so you can move the elements around and really make the layout like you wish.
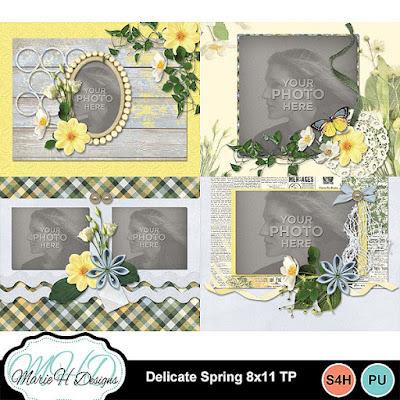
For this designer tip I used one of my Album Template “Delicate Spring 8x11 TP” that you can
find in my store.
Sometimes we want to create pages with certain photos but we don’t want to spend hours
creating them. The Album Template or photobooks are the good alternative. You will find in the
store that there are categories to easily find the Album Template and Photobooks.
Like I mention earlier the real difference with quickpages is that you can move elements around,
you can add some, remove some and layer titles, wordarts compared to quickpages that you
just plop the photos.
When you purchase an Album Template you must add it into the software by clicking on the
download file and follow the instructions. After it is installed you can open it. If you are new to
the software here how you open it. You select “Template” in the box. If your software is already
open and that box don’t show up you can go on the top menu, select “File” and “New” then that
box will open.

A list will appear with all the saved Album Template and Photobooks. You simply chose the one you want to use.

All the layouts will appear and you can start adding your photos, moving things around to fit your
need.

With the Album Template and Photobook you always have the backgrounds and Elements
seperately and you can find them by going into the gallery area (on the left).
That’s where the fun begin! You can move (compared to a flat quickpage) all the elements,
papers to your need. You can change the papers, add elements. If you look at the images below
you will see the difference between the original and the one I have finalized to fit the photos I
wanted to use.
On that first page, I have move all the elements that were clustered to the frame at the bottom
left of the paper. I wanted to have the focus to the photo with the title.


On the second one because the photo was smaller than the photo area I have reduced it and
move around the elements a bit. This is something that I would not have been able to do with a
flat page.


Once you are done you can save them as jpeg, pdf or png by exporting them. You select on the
top menu “Share” then you select “Export” and follow the export instructions.
I hope this will make you want to discover Album Template and Photobooks. You can always
contact me if you want one of my product turned into an Album Template. I am getting into it but
I have many more to do.

No comments:
Post a Comment