

Layout Focus with Silke
Mixing two MASKS together in the layout
Hi all, here is Silke, from PapierStudio, and today my Layout Tip is about MASKS.
I love using masks in my layouts, and also love to mix two of them together.
Like I did here:
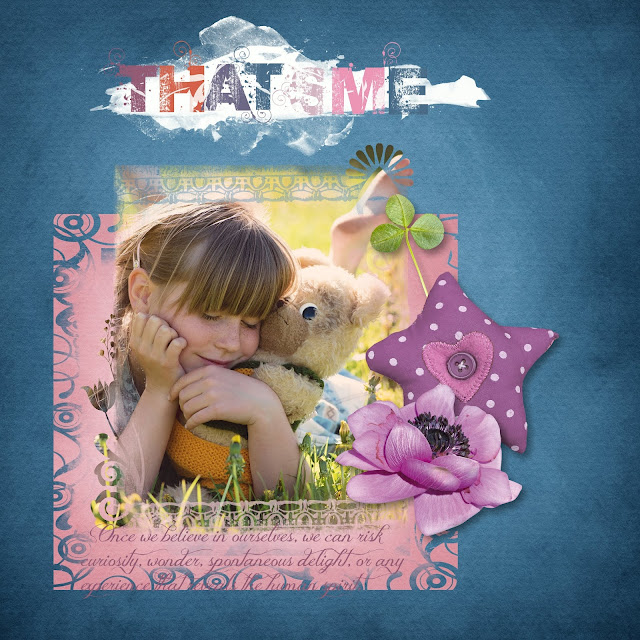
I used two masks from my Winter Solstice Masks. One mask with a paper and the other one with the photo.

Below are the steps on how to use the mask feature with My Memories Suite 9:
1. Add the embellishment mask to your page.
2. Select the embellishment icon, then click on the photo icon, under the embellishments control panel.
3. Select a photo from your computer, and click ok.
4. The selected image will fill the .png image on the page.
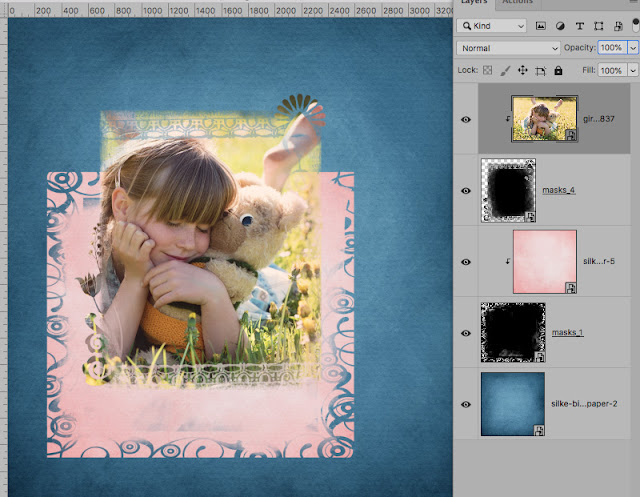
Or, if you use Photoshop, download the purchased mask as a Generic Zip file and then open the masks in a new document.
Add your Photo to a layer above and hit control (commend in Mac) + Alt + G to create the clipping mask.
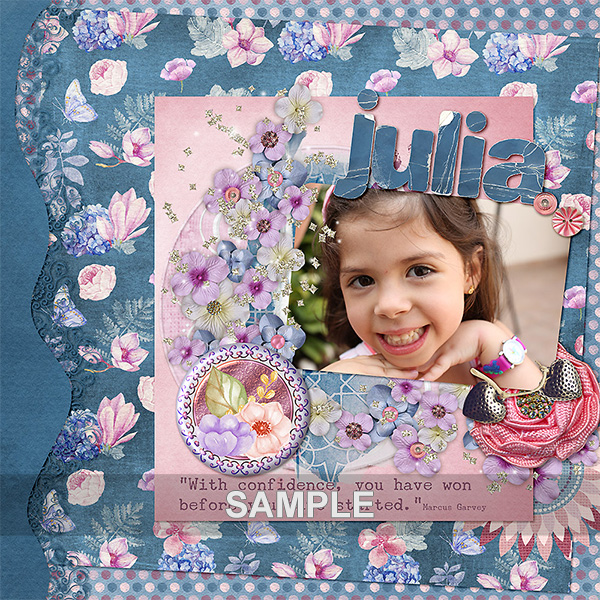
I used the elements from my “Believe in You” kit / collection – NEW in store


No comments:
Post a Comment