

Christmas Card Family Letter
Hello again! Let’s use My Memories Suite to create a Christmas Card Family Letter. It is really very easy. (Especially if you use the FREEBIE at the end of the post.)
Open your version of My Memories Suite, select Design from the initial dialog box. Next choose Cards from the Professional Print Options box and select your size from the Card Types and Print Sizes box.
Today, I am using 5.5 x 4.25“. The program creates the different card part as pages in an album.
I am making a card that will contain a family photo on the front and place the letter inside. Where there is more room.
To make the front of your card. Select a background using the backgrounds tab in the gallery on the left of the screen or a color from the tab in the control panel on the right.

Select embellishments using the embellishments tab in the same areas. Then add your photo.

Use the inside of your card to add additional photos, individual photos, and/or write a letter to loved ones. You will probably want a title or header of some kind. I created mine with the Word Art Tool. To do the same click the Word Art Tab in the control panel on the right. Click add then type the title in the control panel box. I used 2 layers and 2 fonts in my title. To create the “What a year” overlay, I filled it with solid white and set the opacity to 20. I filled “2019” with an image/paper through the Word Art Tab in the control panel on the right. I then aligned then horizontally and at the bottom.

Add family photos.
Write a letter to loved ones.
I add individual photos & a couple lines about each person’s year. I began this when our family was young. As our kids grew everyone began writing their own section and I add it to the card before printing. You can use the same font throughout. I like to add personality & Variety by mixing fonts.
You can do this a couple ways.
1) Give each family member their own text box with individualized font.
2) Create one text box and add all text. Then select the text you want to change/highlight and select a different font for that area. You can also change the sizes and more for even greater versatility.

I like to end the letter with a decorative element and holiday greeting. I used the Word Art panel on the right to create the text, fill it with a paper, and give it shape.
Print when ready.
Thanks for taking the time to read this post. I have an early Christmas present for you. Click image below for this limited time freebie.

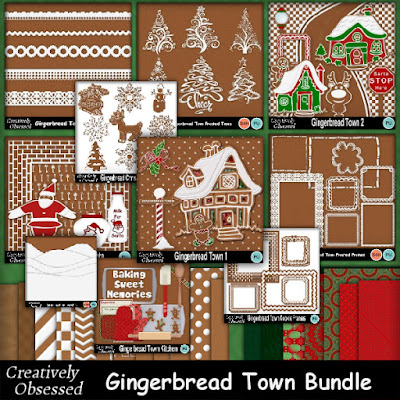
This card was made using items from my Gingerbread Town product line.
Get $10 off MyMemories Suite Software
Use code STMMMS32018 at MyMemories
Creatively Obsessed Store
Creatively Obsessed on Facebook
Creatively Obsessed Twitter
Creatively Obsessed Blog
Creatively Obsessed Pinterest
No comments:
Post a Comment