

This is Mags from MagsGraphics - here to share some scrappy fun with you!
Filling a shape with text can make an engaging accent to your layouts. It is easy to make a rectangle or square with your text (since that is the default “shape” of paragraphs anyway), but it is more challenging to journal inside of a circle, oval, or multi-sided polygon. Some shapes lend themselves better to text that others, but regardless of the shape, you CAN do this in MyMemories Suite Software.
This Video Tutorial is going to use the shapes already installed in the program. If you want to create and save your own shapes (which, for MyMemories Suite, must be in SVG format), please look at this earlier tutorial by Becky’s Creations.
Filling a Shape with Text in MMS…
For those who prefer WRITTEN INSTRUCTIONS, here are the basics. The menus you will need are these:
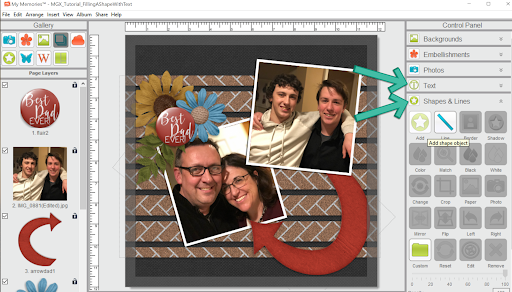
- Open MyMemories Suite. Start a new project or canvas. Featured in this sample layout are items from my Dad Life Collection as well as the Slat PNG Elements.
- From the right-side menu, click on SHAPES & LINES. The click to ADD SHAPE. Double-click on the shape you want to use and close that window. Size your shape to the approximate size you'd like.
- From the right-side menu, click on TEXT and then ADD. In the text box provided, type your words. Choose the font you'd like.
- To connect the text and your shape, select the text box you just made, hold down SHIFT, and then select the shape. RIGHT-CLICK and click 'ATTACH TO SHAPE". This will attach your text to the shape. BUT - you will likely still have to do some tweaking (see video and further instructions below).
- With the TEXT menu open (right-side menu), you can adjust the font, text size, spacing, tracking, and bold/italics/underline. If you need to change the wording or spelling, you will have to RIGHT-CLICK -> DETACH FROM SHAPE, make your adjustments, and then re-attach.
- With the SHAPES & LINES menu open (right-side menu), you can change the background of the shape. Use the MATCH tool to change the background to another color on your layout. Use the PAPER icon to change the background to a paper INSTALLED IN MMS. Use the PHOTO icon to change the background to a paper installed OUTSIDE of MMS.
- Make all of your final adjustments, and you are done! Nice job :)
I would love to see your layouts! Show them off in any of these Facebook Groups, and be sure to tag me!

No comments:
Post a Comment